The i-kon Blaster 3000 can fire “Starter detonators” that initiate for example non-electric detonators.
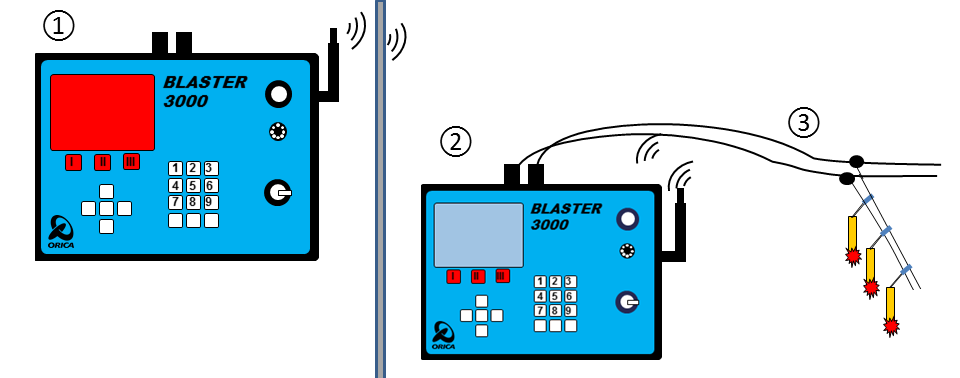
Features:
- Starter detonators are not logged in a Logger.
- The number of starter detonators is limited (max. 10).
- Starter detonators can be connected to the Controller, remote-controlled, and synchronized Blasters.
- No Logger must be connected to a Blaster that controls starter detonators.
 |
Starter detonators can only be used on the Blaster 3000 if the function is enabled in the factory settings. |
Setup to fire Starter Detonators
|
Configure the Blaster 3000 to control Starter Detonators:
|
To give an easy example, the following shows the blasting sequence using a Controller that fires starter detonators.
Prerequisites:
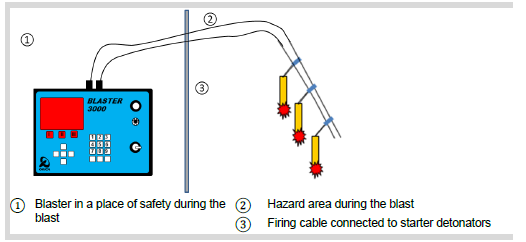
- Blast setup is prepared as shown in the figure below, but the firing cable is not yet connected to the Blaster.
- Blaster is positioned in a safe location.
- Blasting area is evacuated.
- NO dongle is inserted into the Blaster's dongle port.
- No Globals are allowed when firing "Starter detonators"
Blasting Sequence Overview
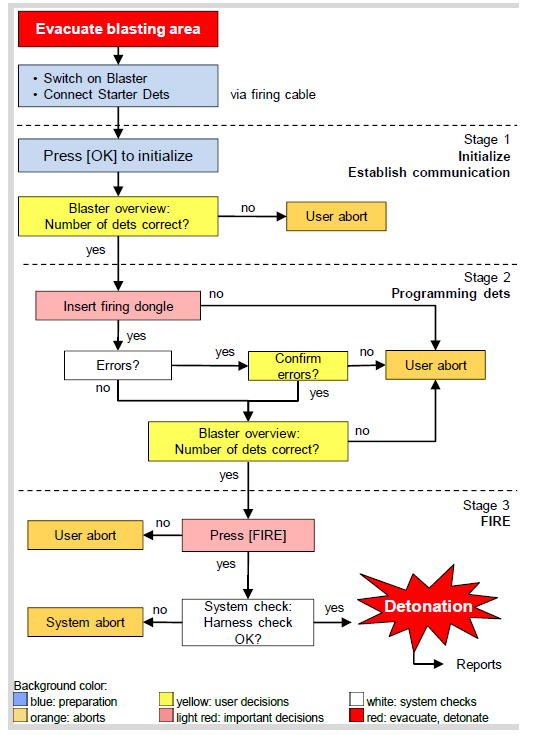
- Switch on the Controller (or the Blaster 3000 where the starter detonators are to be fired).
- Connect the Starter detonators in parallel to the firing cable (harness wire).
- Connect the firing cable to the black output terminals of the Controller (or the appropriate B3000).
- Press [OK] to initialize.
- The Blaster searches for connected detonators and displays them with their data.
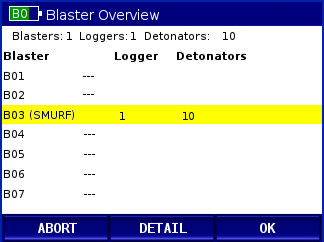
- Note that there will always be a "virtual" Logger, although no Logger is connected.
- Press [DETAIL] to see the detonator list.
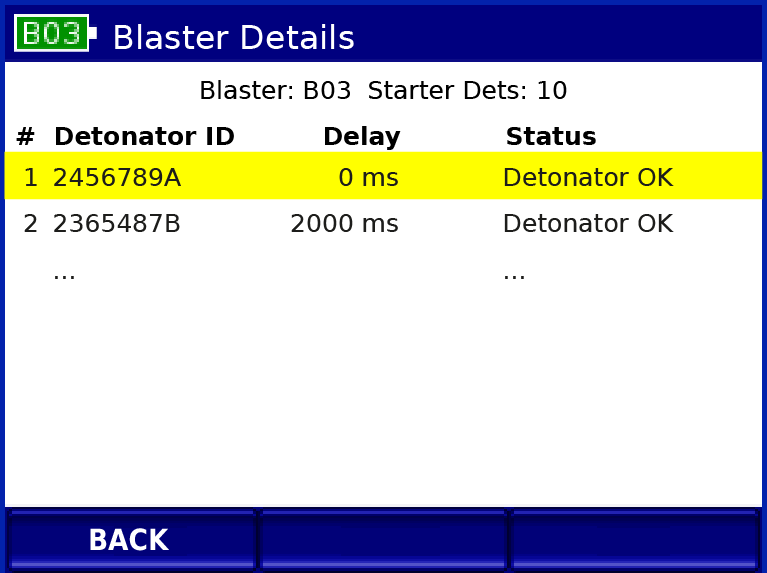
- The detonators are listed and have received a delay time in the order they have been detected by the Blaster.
- Press [BACK] to return to the overview.
- Continue the blasting sequence as usual.
|
If you connect detonators after the Blaster has initialized (= after you've pressed OK = Step 4), then the detonators are identified as Globals - and the Blaster will abort! |
Search words:
startdet, starter dets